 |
| 'Hypercube'- a hand drawn animation by myself about the 4th dimension |
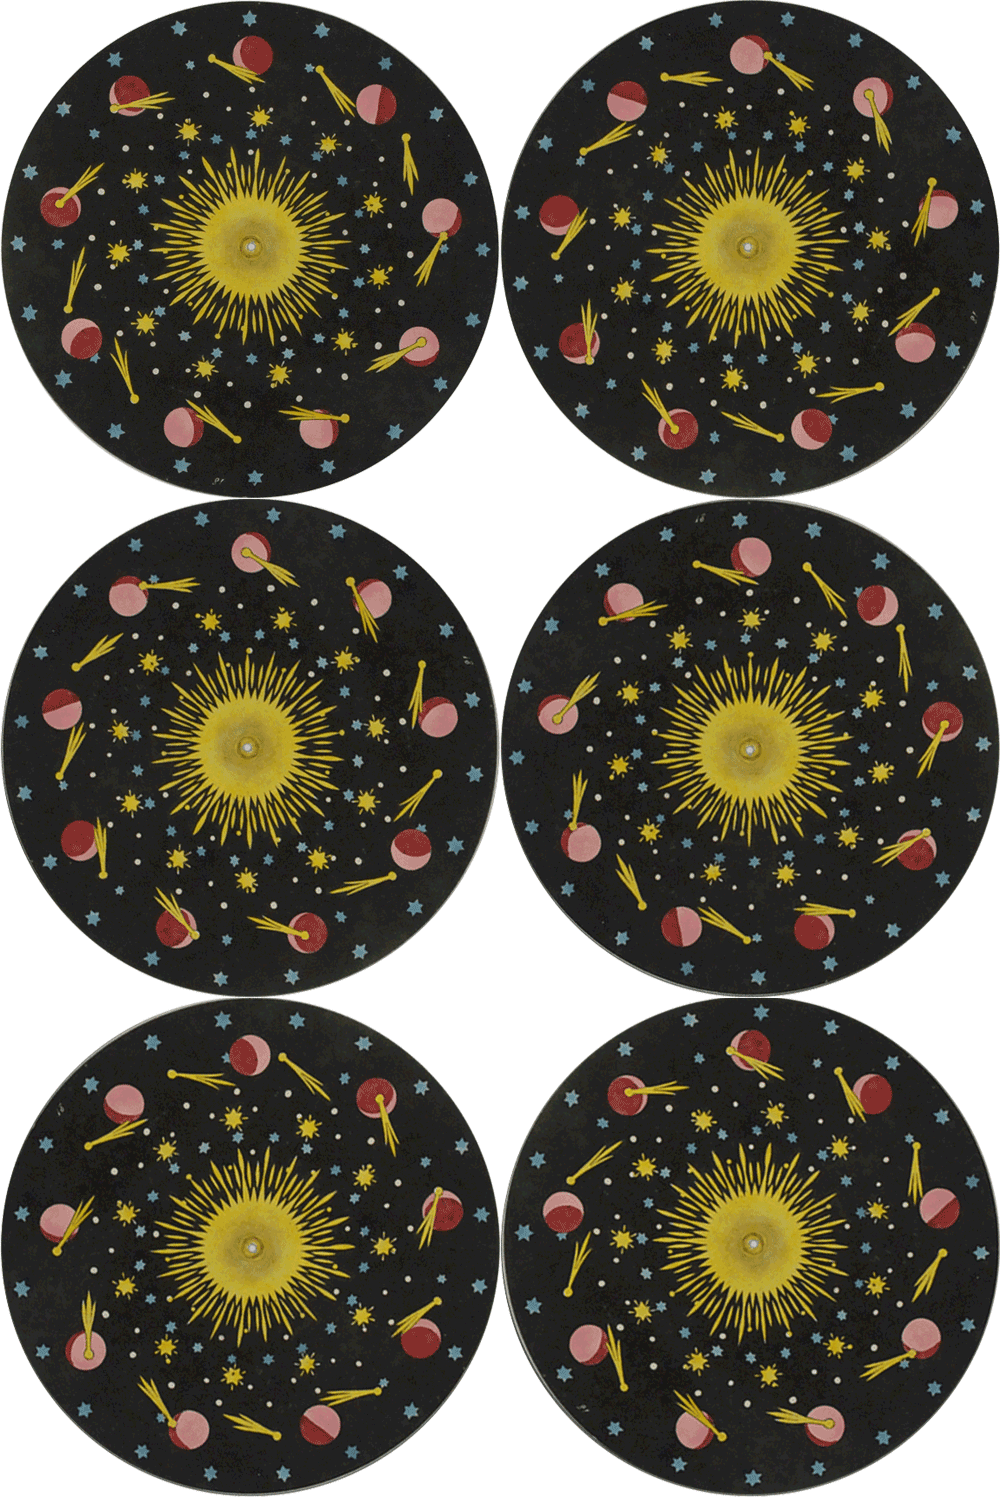
In the first week we were shown examples of traditional animation: Flipbooks and zoetropes. I'm quite familiar with both due to museum visits and a general interest in animation. We were asked to research other early forms of animation. I remembered seeing an article about a digital museum of 'Phenakistoscopes' and other optical tricks from the 19th century that I thought would be very suitable. I manged to track down the article and carried out further research.
What really fascinated me about Zoetropes, Phenakistocopes, praxinoscopes, electrotachyscopes and other disc based animation techniques was their looping nature. They're actually very similar to animated gifs that myself and others make! Looping animation actually existed over half a decade before film. And that, to me, is really interesting, especially considering how popular gifs are today.
I can imagine a victorian staring into a spinning drum to watch small loops of kittens and 'fails'
(wait that's actually what they did!)
You can see the amazing collection of Phenakistoscopes and other 19th centrury animation techniques on www.dickbalzer.com which is a digital museum owned by Richard Balzer, a collector.

In the second week we had to form groups and were given cameras then asked to shoot fast sequences of photos to be stitched together into a video. This is very similar to simply taking a video with the camera except there's less frames. This didn't make much sense to me because it didn't really take advantage of what you can do if you take photos then stitch them into a video. By taking a photograph then moving objects in the shot then repeating that quite a few times you can make yourself a stop motion animation! I wanted to make a stop motion animation. To do that you need a tripod to keep the camera steady between frames. We were told we weren't allowed a tripod as those aren't required to take a sequence of photographs. I was a bit annoyed. Oh well. we made some stop motion videos anyway at much complaint from whomever was unlucky enought to be the cameraman who had to keep the camera as still as possible for a rather long time. This is what we produced:
 |
| I used an anti camera shake filter on adobe premiere pro to give this animation a smooth camera motion.. |
 |
| Stop motion takes quite a lot of time to make. You can see that demonstarated quite clearly here if you look at the shadows. |


No comments:
Post a Comment